Support a Language
Goals:
- Translate your app in another language
Steps
💿 Add the new locale info at app/locale/supportedLocales.ts:
export default [
  {
    lang: "en",
    flag: "us",
  },
  {
    lang: "es",
    flag: "mx",
  },
+  {
+    lang: "fr",
+    flag: "fr",
+  },
];
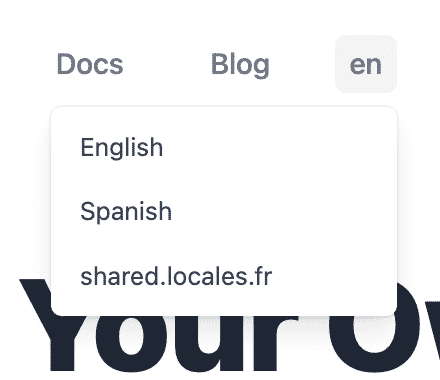
Ironically, you need to translate the new language name on the currently supported languages.
💿 Open the english translation file public/locales/en/translations.json and add the new language i18n key:
{
  "shared": {
    ...
    "locales": {
      "en": "English",
      "es": "Spanish",
+      "fr": "French"
      },
    ...
💿 Open the spanish translation file public/locales/es/translations.json and add the new language i18n key:
{
  "shared": {
    ...
    "locales": {
      "en": "Inglés",
      "es": "Español",
+      "fr": "Francés"
      },
    ...
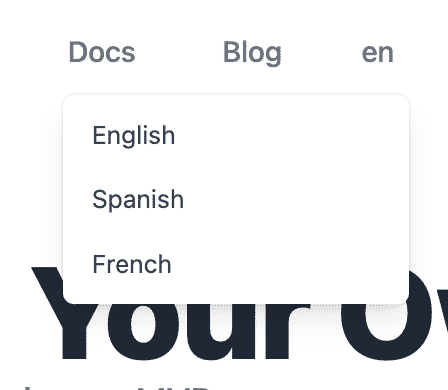
💿 At the landing page, click on the locale selector, there should be the new language displayed correctly.
💿 Select the language, you should get an error:
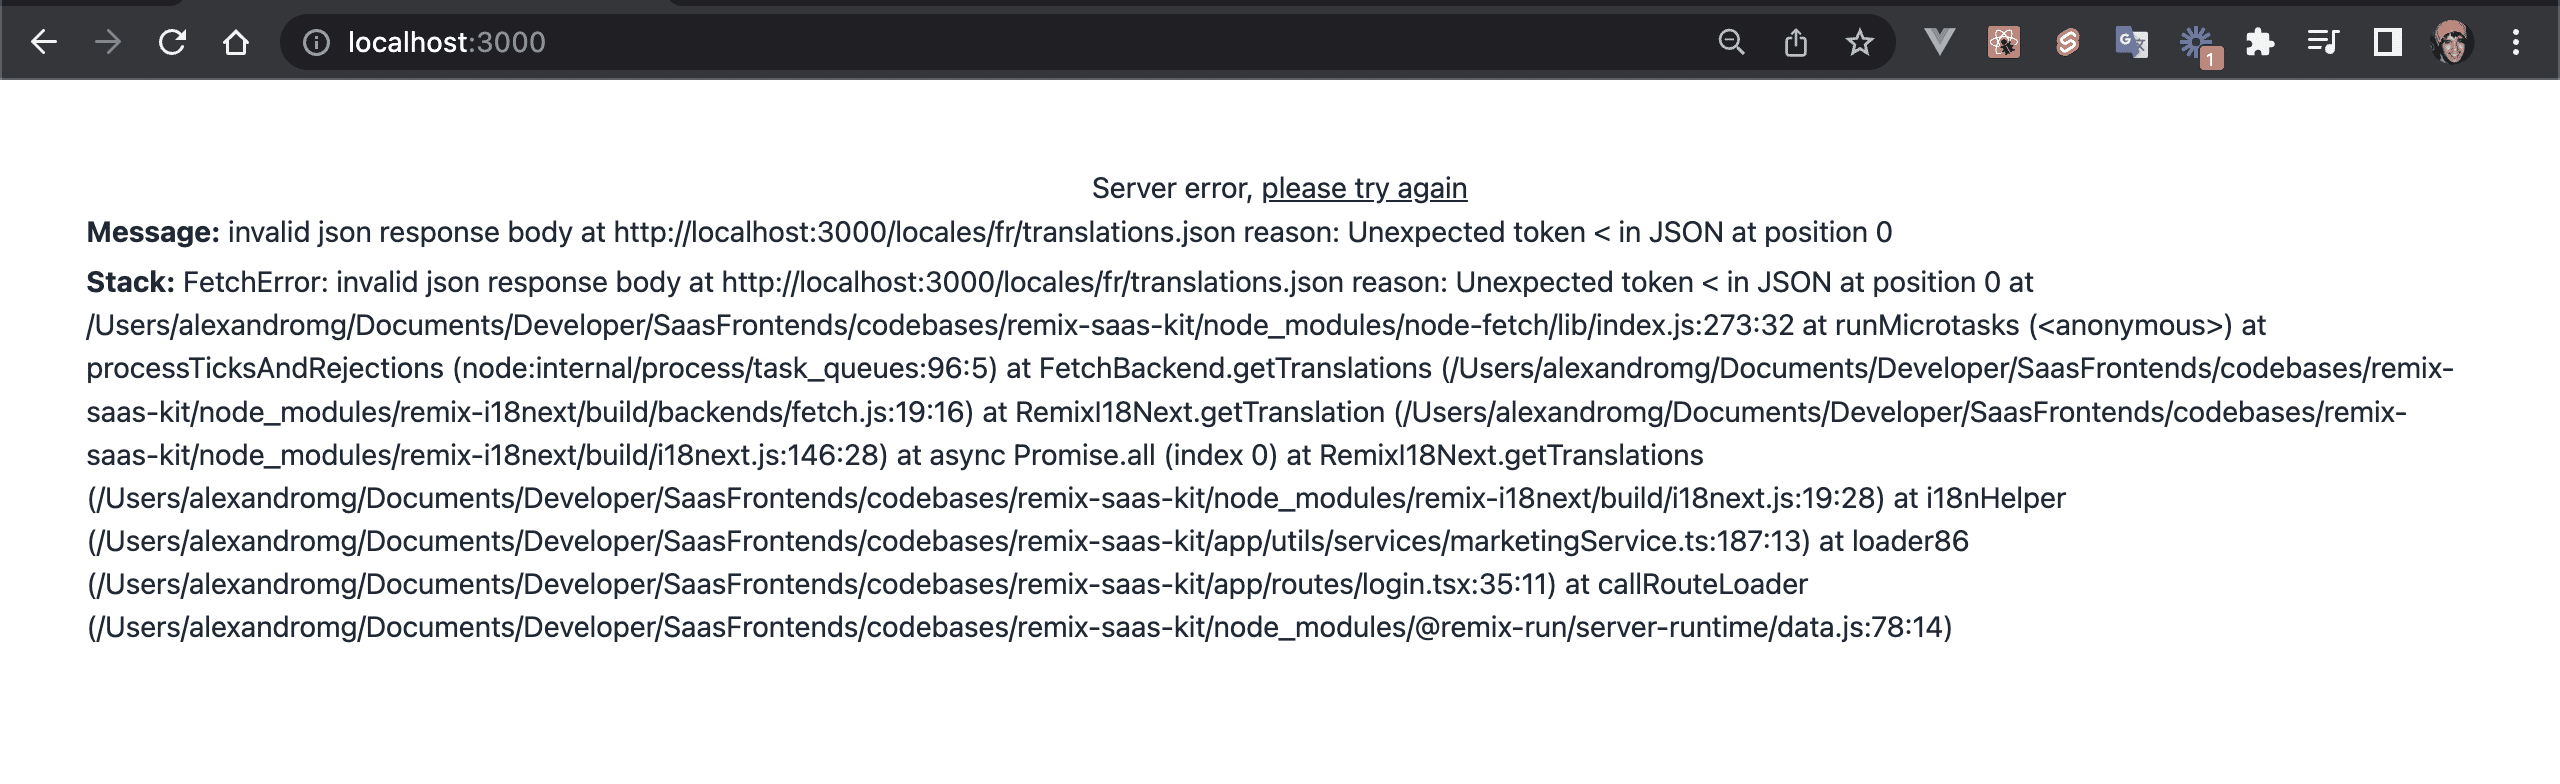
💿 Add the new fr locale to the app/locale/i18n.server.ts file:
export let i18n = new RemixI18Next(backend, {
  fallbackLng: "en", // here configure your default (fallback) language
-  supportedLanguages: ["es", "en"], // here configure your supported languages
+  supportedLanguages: ["es", "en", "fr"], // here configure your supported languages
});
💿 Duplicate the folder public/locales/en and rename it to fr.
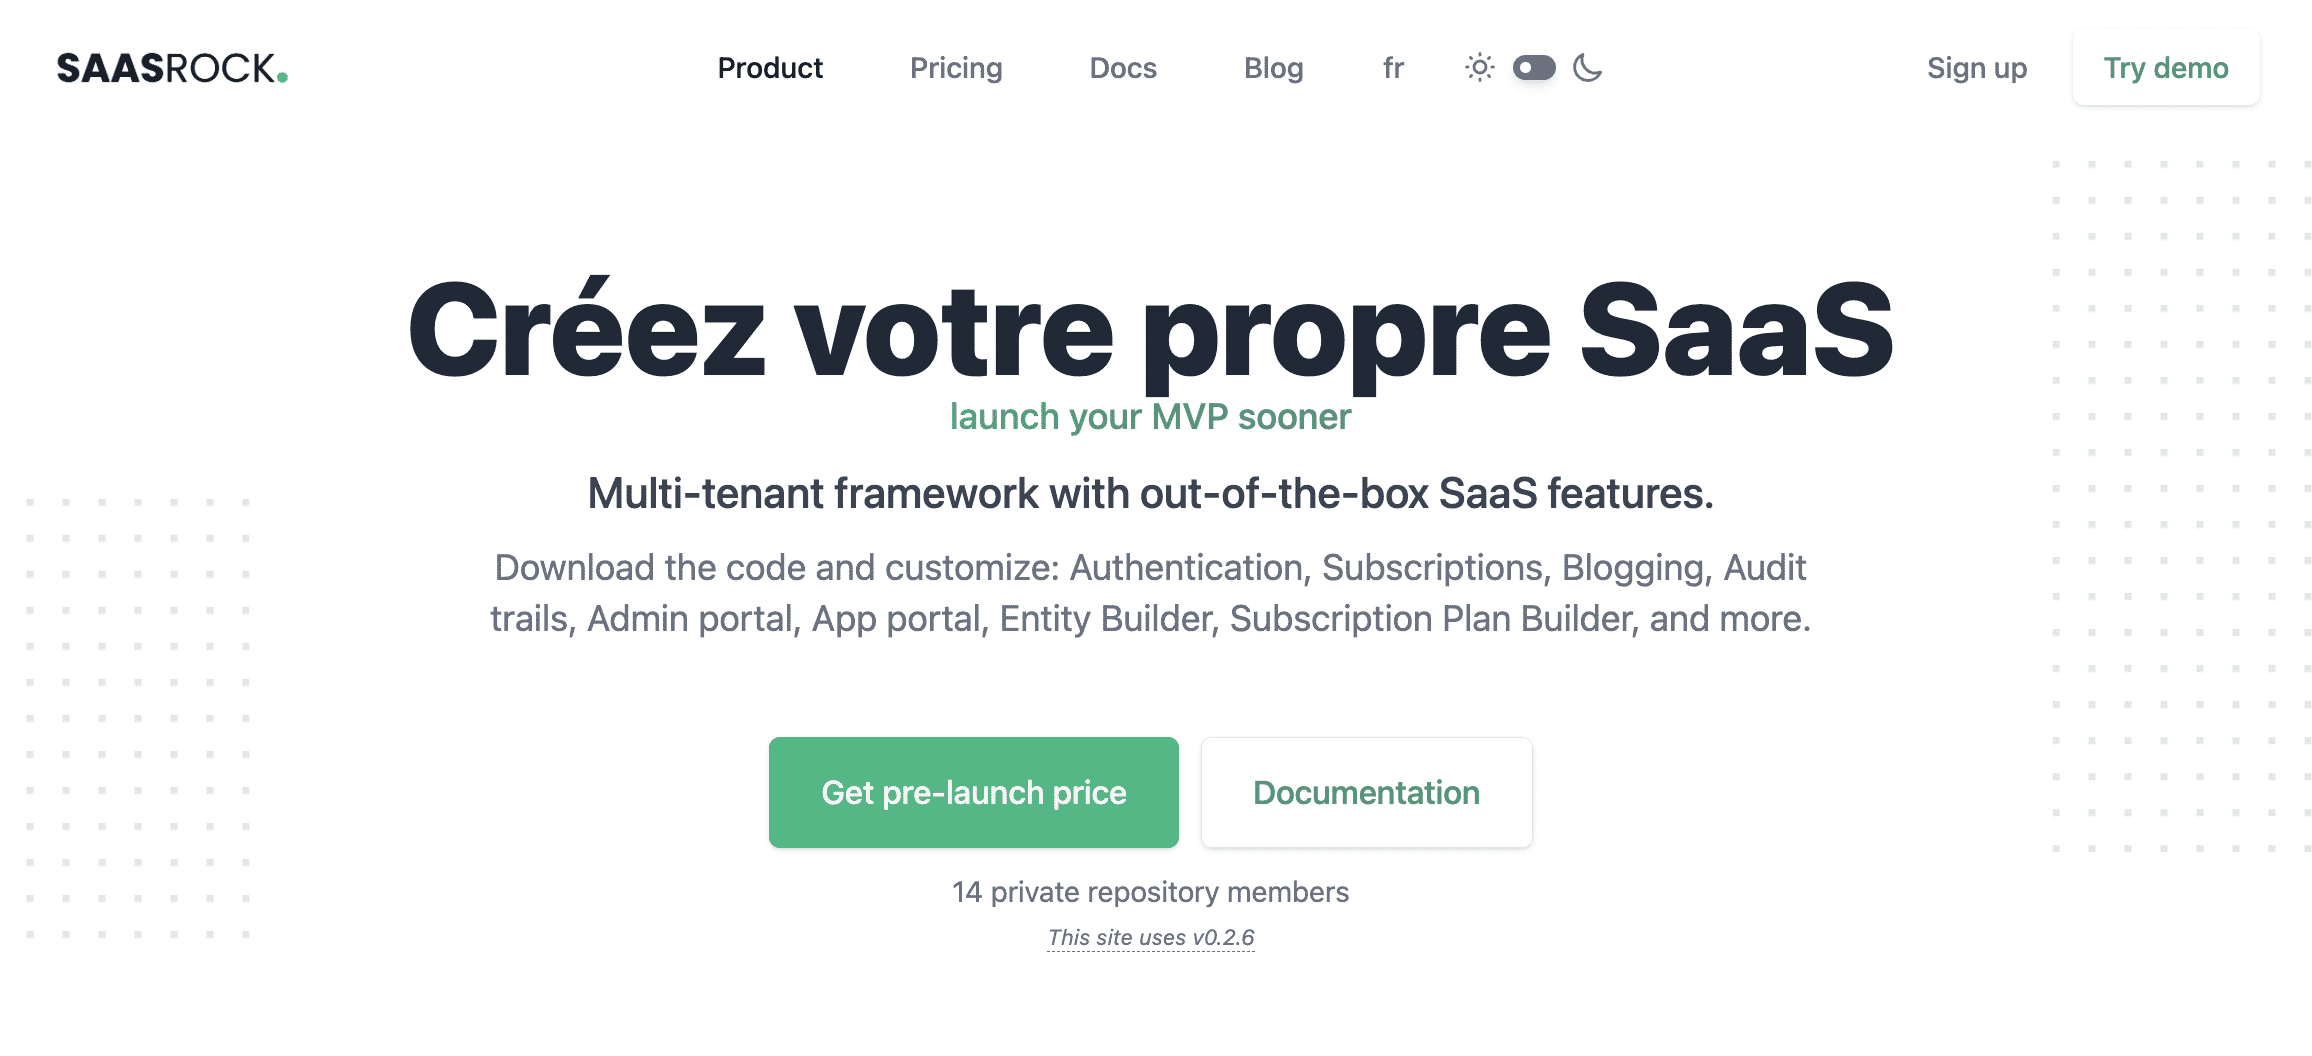
💿 On the new public/locales/fr/translations.json file, replace Easily Build Your Own SaaS to Créez votre propre SaaS.
You should now have 3 front.hero.headline1 translations:
- en/translations.json → front.hero.headline1: Easily Build Your Own SaaS
- es/translations.json → front.hero.headline1: Construye tu propio SaaS
- fr/translations.json → front.hero.headline1: Créez votre propre SaaS
💿 Finally, refresh the landing page and select the new language.
I hope this quick guide was useful! Let me know if you have any question.